
Installing-UnIstalling Proxy-Pro Professional GateKeeper 4.5 proxy server
This documentation shows how to Install/UnInstall Proxy-Pro Professional GateKeeper 4.5 proxy server on your computer
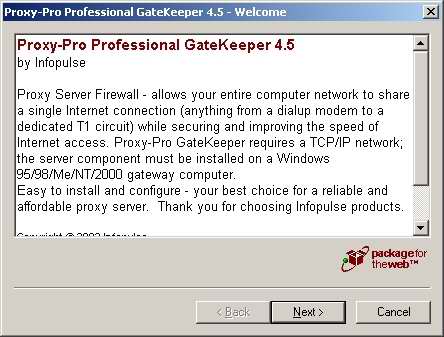
Installing Proxy-Pro Professional GateKeeper 4.5 proxy server
Doubleclick on ProxyPro.exe file


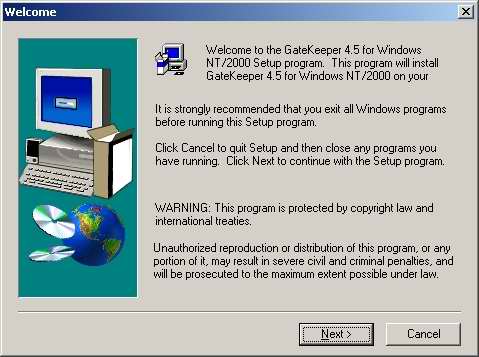
Read carefully the license agreement, you must agree with the license in order to install the software.

![]()
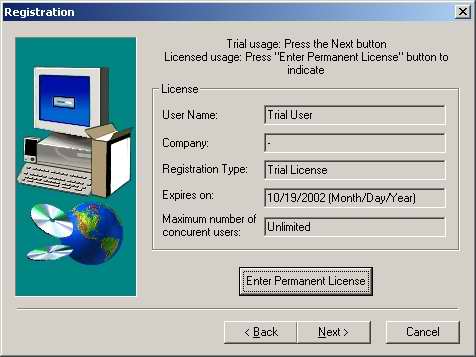
Your registration information is displayed - trial or a permanent license. If you have a permanent license file, press the "Enter permanent" button to switch from the trial license mode to the permanent license mode.
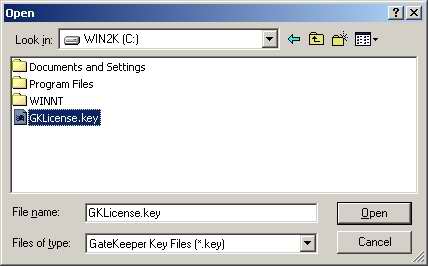
If you have chosen the "permanent license" method you will be prompted to indicate where the license key file is stored on your computer. A dialog box will display the information related to your license. Otherwise you will be prompted the license file is invalid.
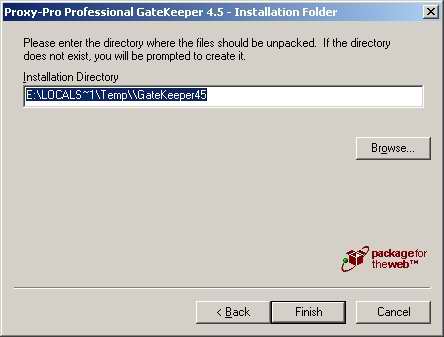
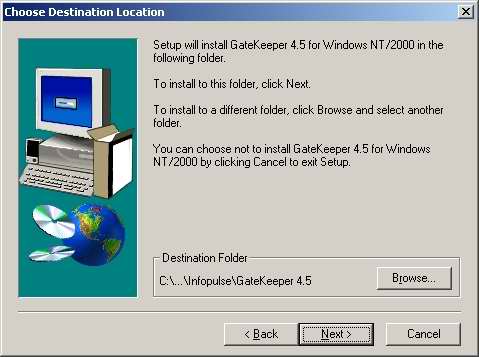
Select the folder where Proxy-Pro GateKeeper 4.5 executables will be installed, the default directory is C:\Programfiles\Infopulse\GateKeeper. You can change it by clicking "Browse".
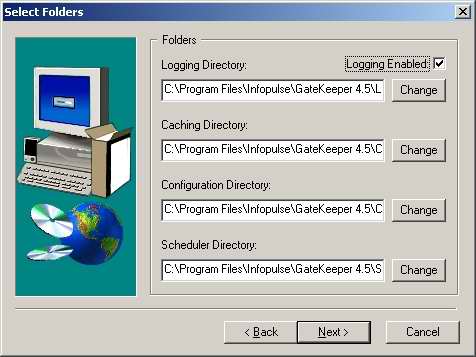
Select the folders where Proxy-Pro GateKeeper 4.5 log files and cache files will be located and choose where the configuration files will be installed. Select also in this dialog the directory (scheduler directory) where the Scheduler will save the downloaded files. This directory will be shared with the sharing name "Scheduler".
![]()
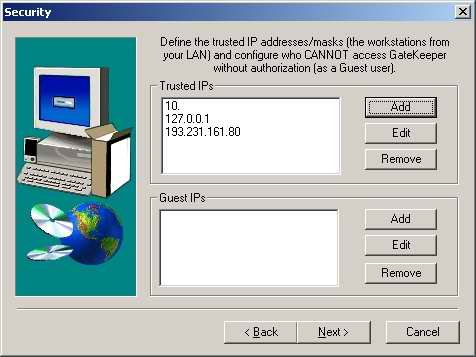
Here you have to define the trusted IP addresses (addresses that can use Proxy-Pro GateKeeper; addresses from your local area network are included as default) and the addresses that can use Proxy-Pro GateKeeper without authentication as Guest users.
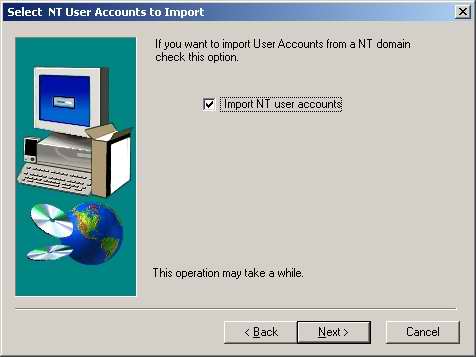
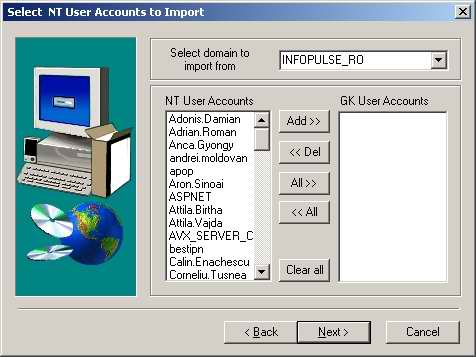
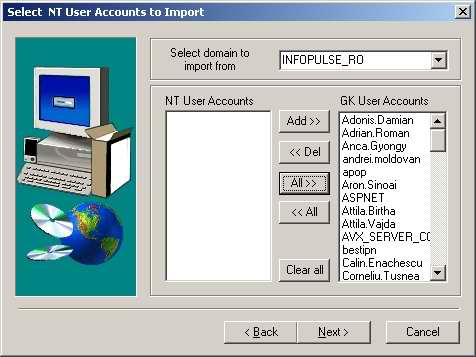
Windows NT version only: If you check the 'Import NT user accounts' option, you can automatically create Proxy-Pro GateKeeper User Accounts for the NT users you select from the existing domains. The default account settings allow both NT and non-NT authentication
![]()
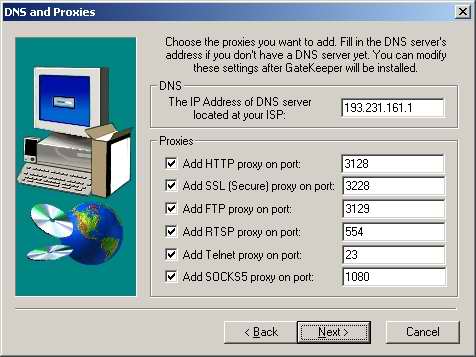
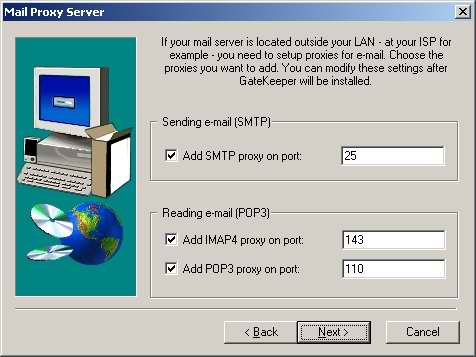
Here you have to specify the address of the DNS server located at your ISP and you can select which proxies to add as default. These settings can be modified after the installation will be completed - using the Proxy-Pro GateKeeper configuration pages or the Configuration Wizard program.
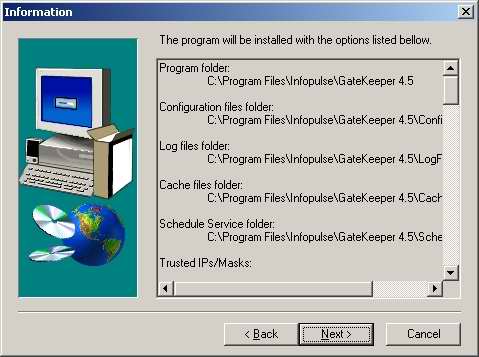
This dialog shows you all the selections you have made. If you want to change one of them, simply press the 'Back' button until the desired dialog is displayed and modify the setting(s).
![]()
![]()
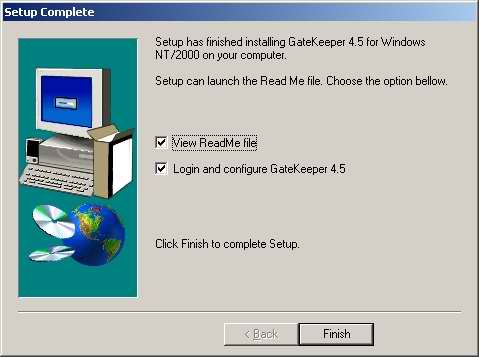
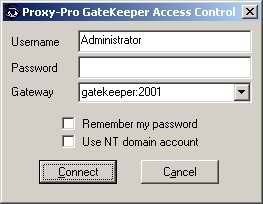
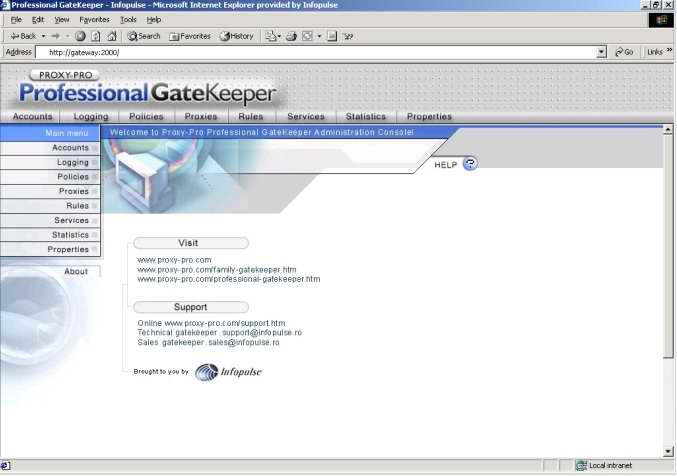
After completing the above steps the Proxy-Pro GateKeeper software is successfully installed, now you can configure it after your needs. Note that if you are using Proxy-Pro GateKeeper for the first time after the installation, the Administrator account has an empty password and in the Gateway field you must type the name or IP of the PC running GateKeeper.
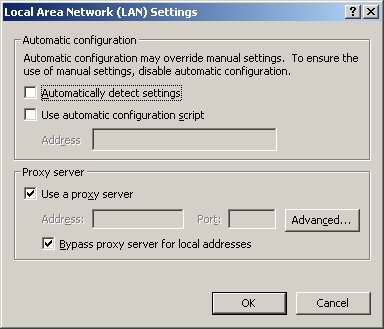
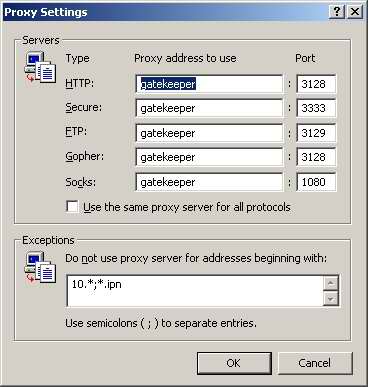
Click Advanced button to specify what proxies to be used.
![]()
UnInstalling Proxy-Pro Professional GateKeeper 4.5 proxy server
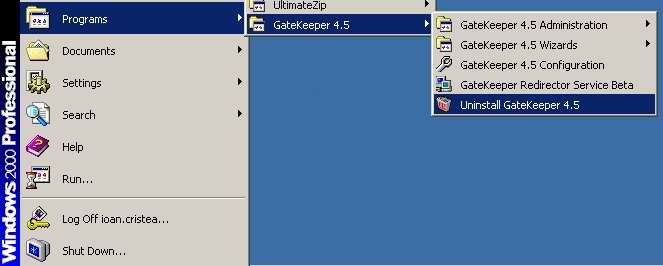


![]()
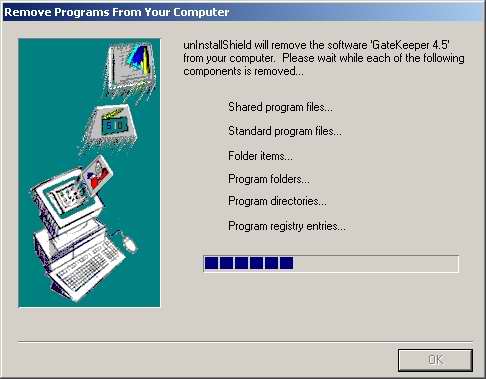
After completing the above steps the Proxy-Pro GateKeeper software is successfully Uninstalled from your computer.